


Part 1 - Initial Setup: Cucumber-JVM via Gradle
A getting started guide to Cucumber-JVM


Skip ahead and view:
Part 2: https://slashqa.hashnode.dev/part-2-configuring-our-gradle-kotlin-dsl-cucumber-jvm-via-gradle
Part 3: https://slashqa.hashnode.dev/part-3-getting-dependency-injection-working-cucumber-jvm-via-gradle
Overview
We'll create a basic Cucumber project that:
Uses the Cucumber for Java IDE plugin for test case development
A custom Gradle task running the Cucumber CLI via JavaExec
Utilises dependency injection to store state across scenario steps that reside in different classes
This will be split across a few posts so it doesn't drag on too long.
In future posts, we'll also fork this project and build upon it in a few different directions including:
Passing in system properties to control settings (eg to allow better flexibility with Jenkins pipelines and different styles of tests)
Adding the ability to run REST tests using RestAssured
Adding support to run browser-based tests in Chrome and Firefox
Use Gradle modules to separate sub-projects
Switching the way we run our tests from JavaExec across to JUnit
Pre-requisites
JDK 8+ installed
GIT configured
IntelliJ (or equivalent IDE) installed
The "Cucumber for Java" Plugin is installed (File > Settings > Plugins > MarketPlace > Search for "Cucumber for Java" and click Install. Restart the IDE).
Clone https://github.com/cucumber/cucumber-java-skeleton into a directory
            cd <directory-you-wish-to-create-new-project-in>
            git clone https://github.com/cucumber/cucumber-java-skeleton.git
Assumptions
We assume that:
you have at least a Comp 101 understanding of Java
you are using IntelliJ. If not adjust accordingly.
Note formal documentation can be found at https://cucumber.io/docs/cucumber/
What is Cucumber & Why Do I Need It?
Cucumber is a testing tool that supports the Behaviour Driven Development (BDD) style of tests, using the Gherkin syntax. It allows Quality Assurance teams to build tests that align with the story pattern of Agile development, although at a more granular level of course. This ensures:
user behaviour throughout the test is defined clearly
the outcome of the test is clear
complex tests can be simply understood by anyone on the team.
Let's demonstrate with a super simple example. In this case:
we have a web application that allows users to log in and update their email
we are testing the UI only. The code is using a REST API and we test the patch scenario separately to ensure
Assumptions:
as part of the test provisioning, we create a user for this test specifically (in the real world, you would like to want to create the user via a REST API at the start of the test if possible)
this user is ephemeral
Story
Scenario: As a user, I can log in to my account and update my email address successfully
Scenario Steps:
Scenario: As a user, I can login to my account and update my email address successfully
Given the user logs into the site with the 'testuser' username and 'Testpass1234' password
* the user clicks on the user avatar in the top right of the page
* the user clicks the 'Account' link
* the user verifies that the 'Email' input has the value 'test@user.com'
When the user enters 'mynewemail@user.com' into the 'Email' input
* the user clicks the Update button
Then the success message 'Profile updated' is displayed at the top of the page
* the user reloads the page
* the user verifies that the 'email' input has the value 'mynewemail@user.com'
Notice the use of "*", this is an acceptable way of grouping steps that belong to the same level without the typical repetition of Given, And, When, Then that you typically see in stories.
As you can see, this outlines exactly what the test is doing and anyone on the team should be able to read and understand the test outcome. If it repeatedly fails at a particular step, then it is pretty clear what could be broken.
Now, let's get underway.
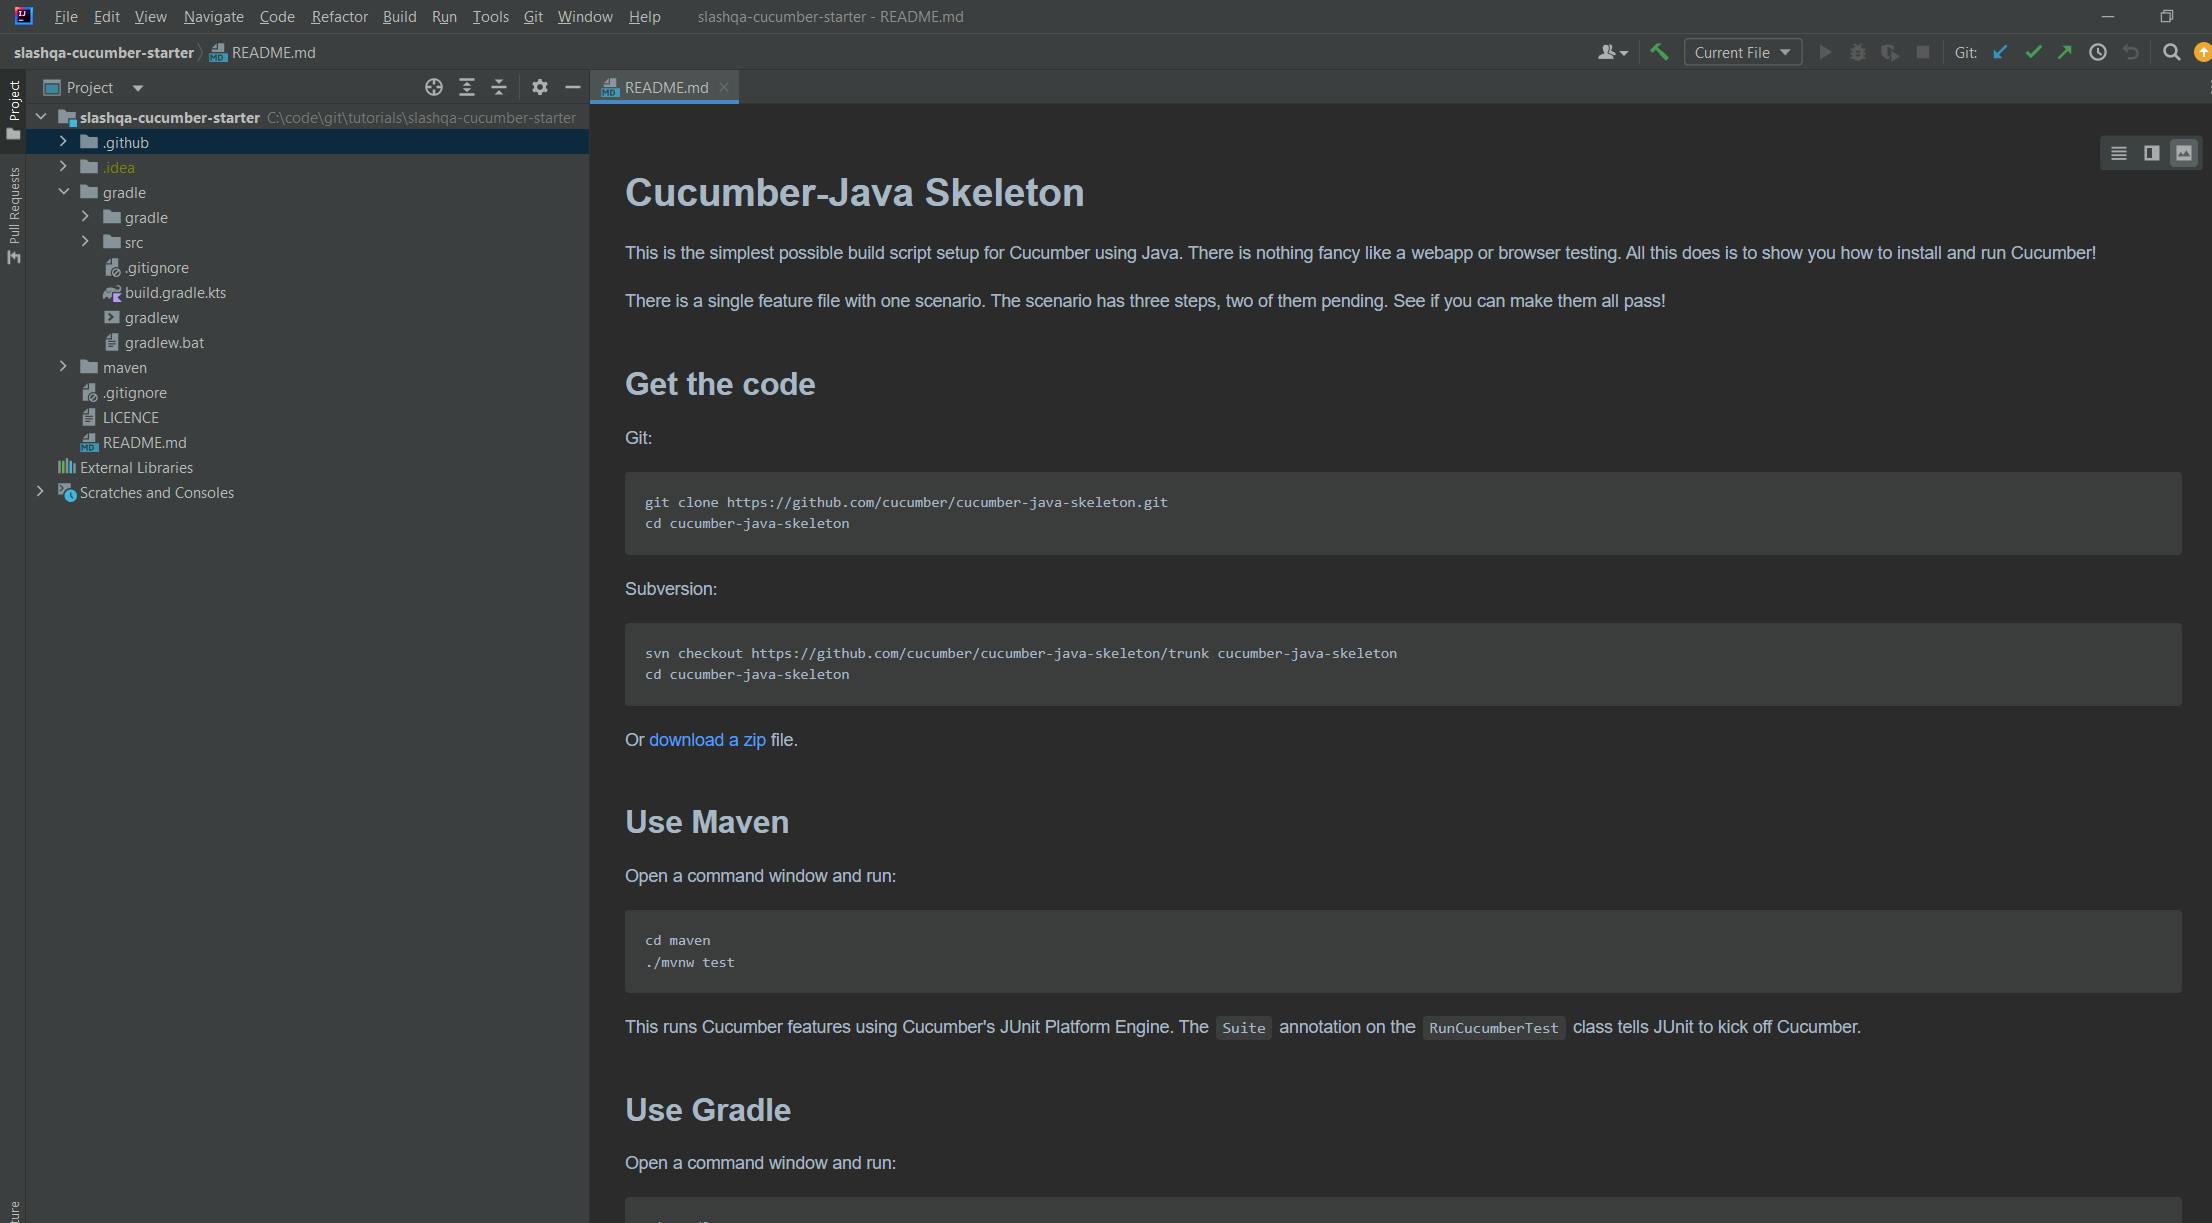
Clone the Project
Import the cloned project into IntelliJ, and you should see:
There are multiple ways of running Cucumber tests, including via JUnit 5, JUnit 4 or via a custom Gradle task with JavaExec using the CLI. In addition, when developing your feature files you can run it via the Cucumber for Java plugin within IntelliJ.
For this tutorial, we are going to use Gradle tasks + JavaExec for the command line, and of course Cucumber for Java. In upcoming tutorials.
Let's remove the .github / maven folders and move everything under the gradle file up one level (you might need to rename the top-level gradle folder first). Once you've done so, run the following command to build / import dependencies:
./gradlew
Your project should look like this:

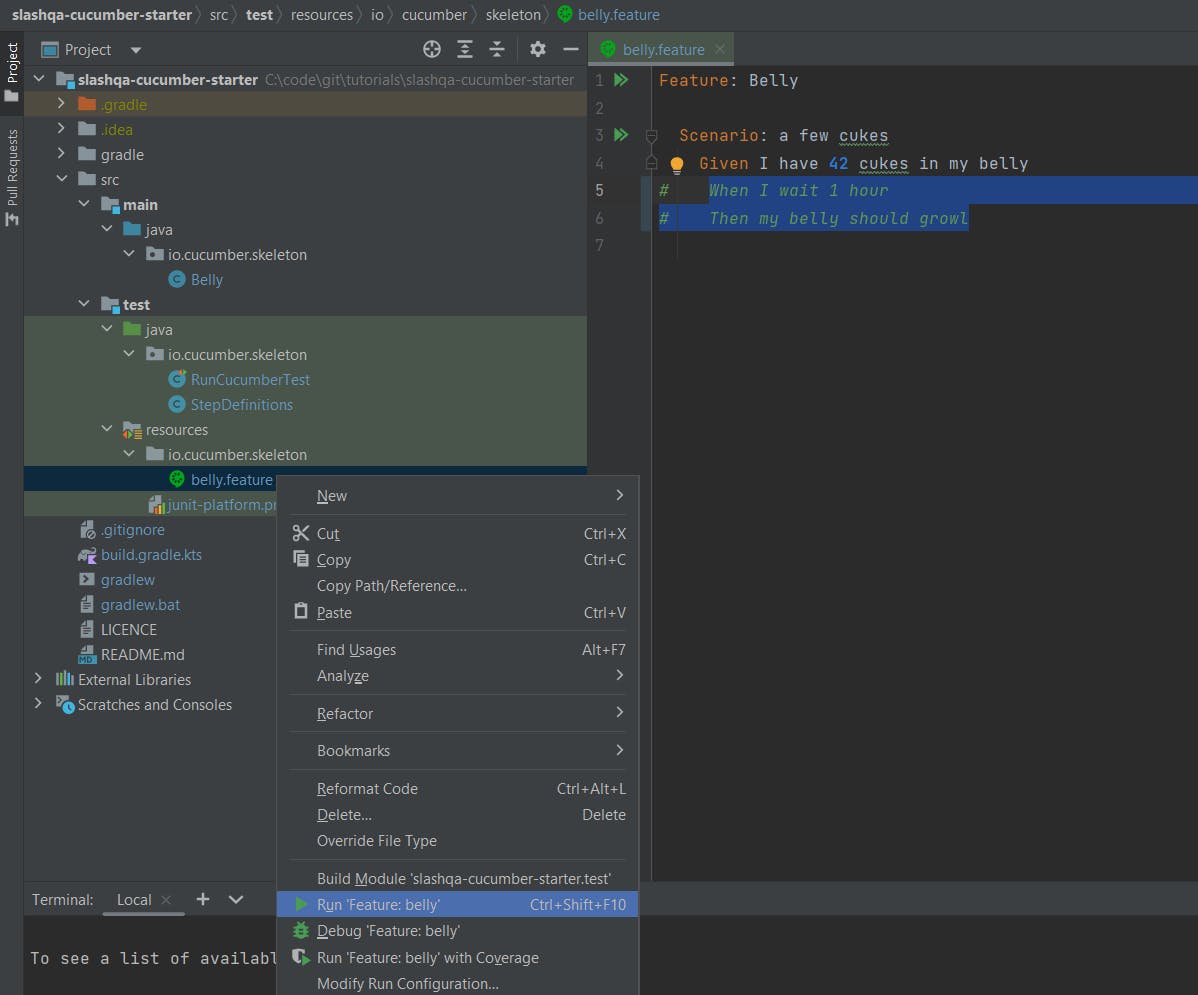
Test the Initial Scenario
Open up the belly.feature under src/test/resources/io.cucumber.skeleton and comment on the lines 5 and 6 that haven't been implemented yet (CTRL + /).

Right-click on belly.feature and select "Run" (if you don't see this, ensure the Cucumber for Java plugin is installed):
If everything is configured, then you should see the single-step pass. To see the step break-down, ensure you select "Show Passed" in the Run window:

Woohoo - the base configuration is working and can be run via Cucumber for Java.
Now it is time to start customising things. Let's start doing that in Part 2 (coming soon).
